How To Extend Speaker Wire – 4 Simple Steps To Follow
So, you brought yourself some brand new speakers. To get that powerful home theatre sound, place them in the ideal locations in your space. But disaster strikes when you are all set to connect them! You realize that the speaker cable doesn’t extend farther than you had anticipated.
So, you need to strip the wire and use a wire cap. However, it would help if you first considered the speaker impedance and wire gauge. The method you choose will depend on several factors. The most important ones are the type of connection and the wire gauge.
The ideal situation is to use a single length of wire; the convenience and economic advantages outweigh the little acoustic degradation caused by utilizing longer lines. Some of us think that the “loss” in sound quality is only friction. But, it’s not!
With that said, this manual below will walk you through every step of extending your wire. Keep scrolling…
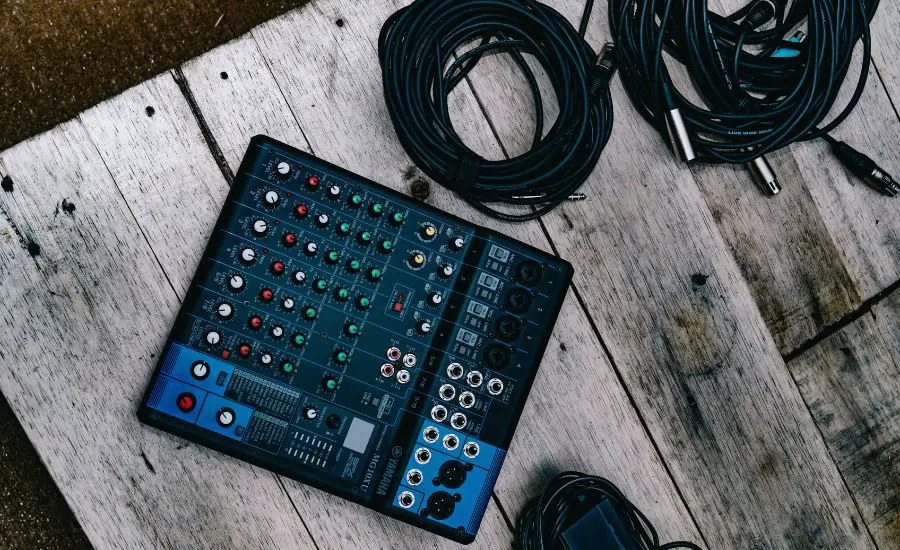
The 4-Step Method to Extend Speaker Wire!
Extending speaker wire can seem like a daunting task, but it is actually quite simple. With just a few basic tools and materials, you can easily extend your speaker wire and get your audio setup up and running in no time. Here are 4 simple steps to follow when extending speaker wire:
Step 1: Gather Materials
Before you begin, you will need to gather the materials you will need to extend your speaker wire. You will need:
- Speaker wire (at least the same gauge or thicker as the wire you are extending)
- Connectors (such as spade connectors or banana plugs)
- Wire stripper
- Soldering iron and solder (if using spade connectors)
- Heat shrink tubing (optional, but recommended for added insulation and strain relief)
Step 2: Strip the Wire
The first step in extending your speaker wire is to strip the ends of both the existing speaker wire and the wire you are using to extend it. Use a wire stripper to carefully strip the insulation off the ends of both wires. Be sure to only strip a small amount of insulation off, as too much can cause the wire to break or short circuit.
Step 3: Connect the Wires
Once the wire is stripped, you can attach the connectors to the stripped ends of the wires. If using spade connectors, you will need to solder them onto the wires. This will ensure a secure connection and help to prevent the wire from coming loose.
If using heat shrink tubing, slide the tubing over the connectors and shrink it using a heat gun or a lighter. This will provide added insulation and strain relief for the connection.
Step 4: Test the Connection
Finally, connect the extended wire to the existing speaker wire by connecting the connectors. Before you power on your audio setup, it is important to test the connection with a multimeter to ensure it is electrically sound and there is no short circuit.
Once you have completed these steps, your speaker wire will be successfully extended and you will be able to enjoy your audio setup in any location you choose.
When extending speaker wire, it’s essential to use wire of the same gauge or thicker than the wire you’re extending. Using thinner wire can decrease the quality of sound and even cause damage to your audio equipment. Additionally, using good quality connectors such as spade connectors or banana plugs will ensure the best sound quality and longevity of the connection.
What precautions to take while extending a speaker wire?
When extending a speaker wire, there are a few precautions you should take in order to ensure the best sound quality and performance, as well as to protect your audio equipment from damage. Here are some important precautions to keep in mind:
- Use the same gauge or thicker wire: It’s important to use wire that is the same gauge or thicker than the wire you’re extending. Using thinner wire can decrease the quality of sound and even cause damage to your audio equipment.
- Use good quality connectors: Using good quality connectors such as spade connectors or banana plugs will ensure the best sound quality and longevity of the connection. Avoid using cheap or poorly made connectors as they may not provide a secure or reliable connection.
- Test the connection: Before you power on your audio setup, it is important to test the connection with a multimeter to ensure it is electrically sound and there is no short circuit.
- Use heat shrink tubing: Heat shrink tubing is optional but recommended for added insulation and strain relief. This will help to protect the connection from damage and prolong the life of your speaker wire.
- Keep the wire away from heat sources and high humidity: Speaker wire should be kept away from heat sources, such as radiators and air conditioning units, as well as high humidity areas, such as bathrooms, to prevent damage.
- Secure the wire: Secure the wire in place with cable ties or clips to prevent it from getting tangled or pulled loose.
- Avoid over-stripping the wire: Be sure to only strip a small amount of insulation off, as too much can cause the wire to break or short circuit.
By following these precautions, you can ensure the best sound quality and performance, as well as protect your audio equipment from damage.
Final Words
Overall, speaker wires play a crucial role in ensuring that your audio system operates at its best. Replacing old speaker wires can be a simple task, but it is important to choose the right type of wire for your system and connect it properly.
Following the tips outlined in this guid, you can ensure that your audio system is sounding its best. Additionally, it’s always a good idea to keep an eye on the condition of your speaker wires and to replace them as needed to ensure that your audio system is always in top working condition. Overall, investing in quality speaker wires is a smart move that will pay off in the long run by providing you with the best audio experience.